
Pie Love You Long Time
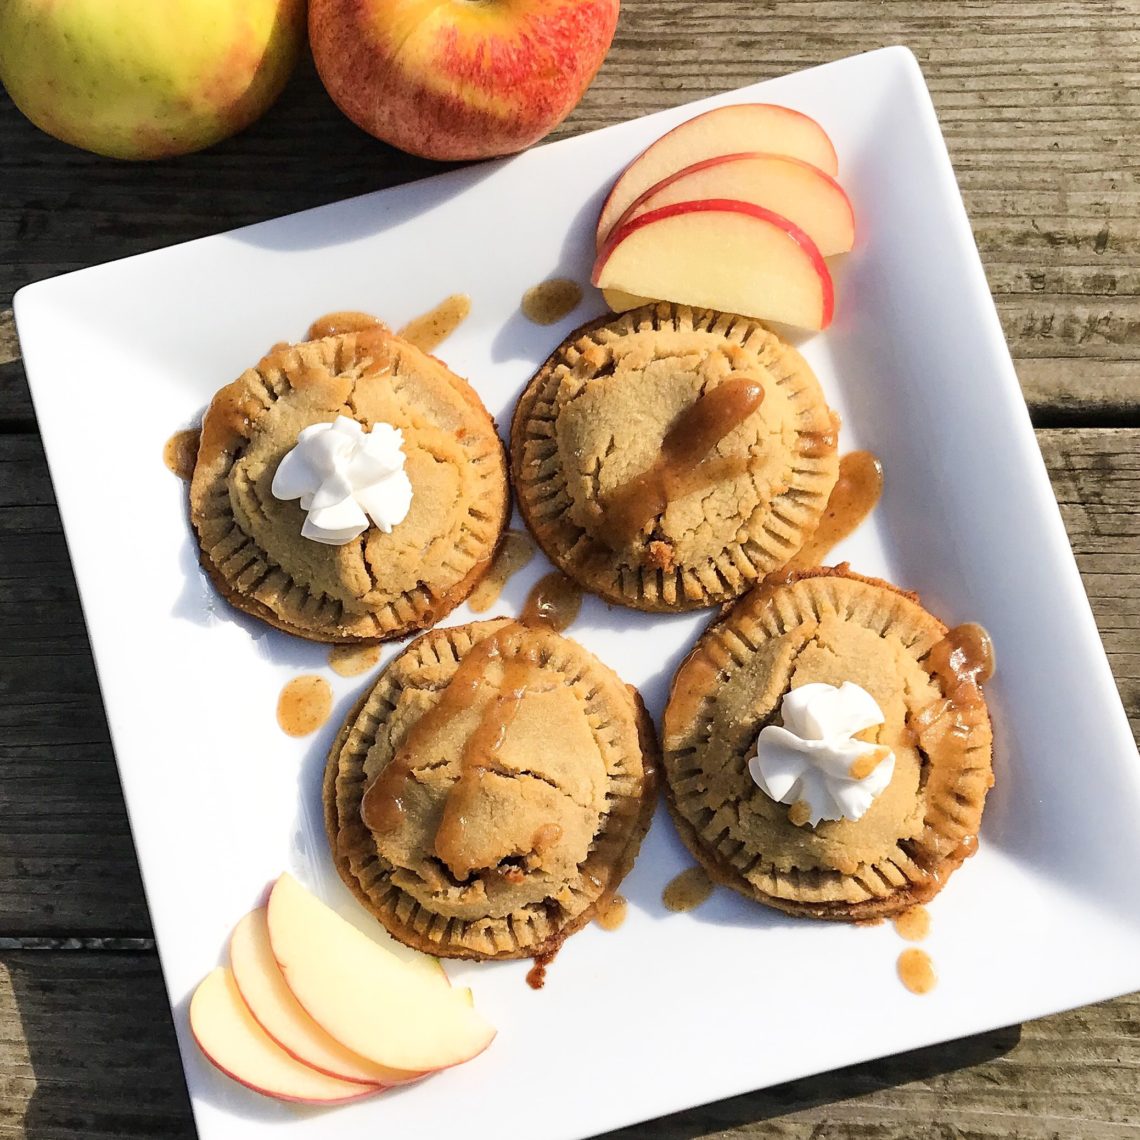
Food is my love language. Today I’m singing songs of Paleo Apple Hand Pies. If you’ve ever wanted an excuse to eat an entire pie, this is your shining moment of pie-dom. These palm-sized pies are mini in size, big in flavor and made both vegan and gluten-free. Yes, dreams do come true. Why wait until Thanksgiving? Get your pie on below!
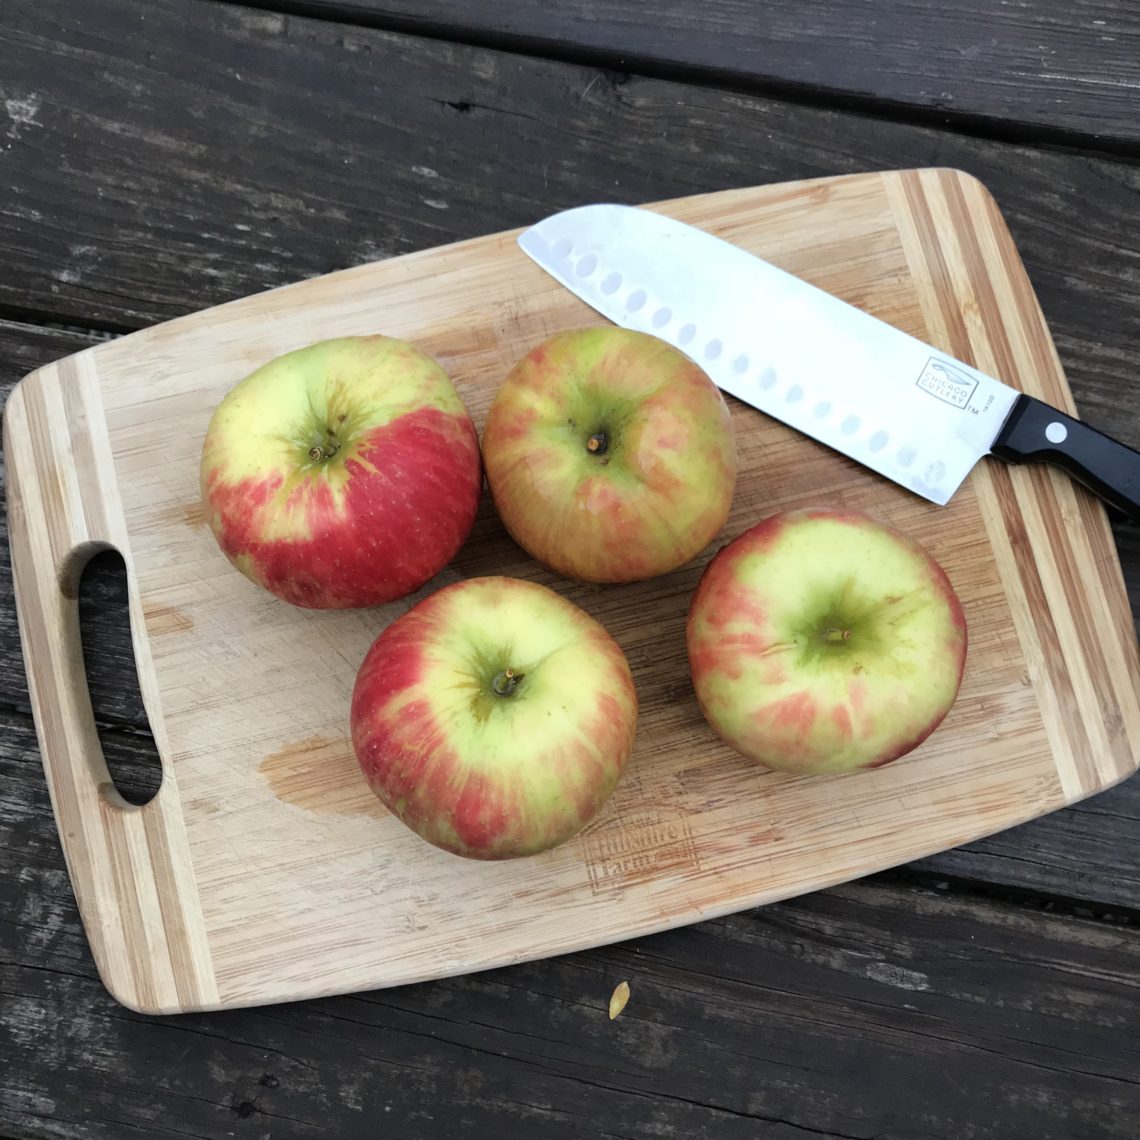
When it comes to Thanksgiving, it’s hard to say which is my favorite – pie or green bean casserole. Do pie and green bean casserole count as a balanced meal? Thanksgiving isn’t about balance though. It’s the one time a year that I allow myself two pieces of pie because…who can choose between pumpkin and apple? Maybe pie is my favorite because it comes around so infrequently. Buying an entire pie is just…dangerous. And making a pie? Super intimidating. But, with a fridge full of honey crisp apples, I set off on a mission to 1.) use up all the apples in all the ways and 2.) create a mini pie for a mini indulgence.
There are apples, and then there are honeycrisp apples. All apples, were not created equal. If you haven’t sunk your teeth into these juicy, sweet yet sour apples, you are missing out, my friend. However you slice it, there are plenty of apple varieties and plenty of confusion about which apples to use for which recipes.
Here’s a shorthand guide of the best apples for:
Baking
-Look for crisp apples (to withstand the oven), with a balance of sweet & tartflavors.
-Varieties: Honeycrisp, Granny Smith, Golden Delicious, Cortland, Empire & Jonathan.
Cider
-Use a blend of apples to get sweet, bitter and sharp flavors for a balanced cider.
-Varieties: Gala, Fuji, McIntosh, Cortland, Honeycrisp
Applesauce
-Use a softer apple for quicker cooking.
-Varieties: Cortland, Jonagold, Fuji, Granny Smith.
Back to the main attraction: pie. I’d suggest making this dough in the morning, refrigerate to reduce the stickiness, then make the filling in the afternoon (or even the next morning). TBH, it’s a bit of a process, but with worthwhile results. Also, this recipe will make AMPLE cinnamon apples, which I like to put in oatmeal, on toast, top pancakes or just straight up spoon because they’re so good. These hand pies would also freeze well and reheat in the oven once thawed. Lastly, try to get the dough as thin as possible (like a thin sugar cookie) so that you have the right ratio of dough to apples.
Before you dive in, if you’re wondering about that delicious syrup and whipped topping, it’s coconut whipped cream and date syrup! The recipes for the date syrup can be found here. The coconut whipped cream is available from a variety of brands, including Reddi Whip!
Apple Hand Pies
Serves: 6
Ingredients:
Apple Pie Filling
– 5 C of apples peeled, cored and diced (from about 3-4 apples)
– 2 T ghee (or butter)
– 1/2 C packed coconut sugar (or brown sugar)
– 1 tsp cinnamon
– 1/4 tsp ground ginger
– 1/4 tsp nutmeg
– 1/8 tsp ground cloves
Pastry Dough
-1/4 C maple syrup
-1/4 C ghee (or unsalted butter)
-1/4 C water
-1 tsp vanilla
-1/4 tsp salt
-1 ripe banana, mashed
-1/2 C arrowroot flour
-1/2 C coconut flourDirections:
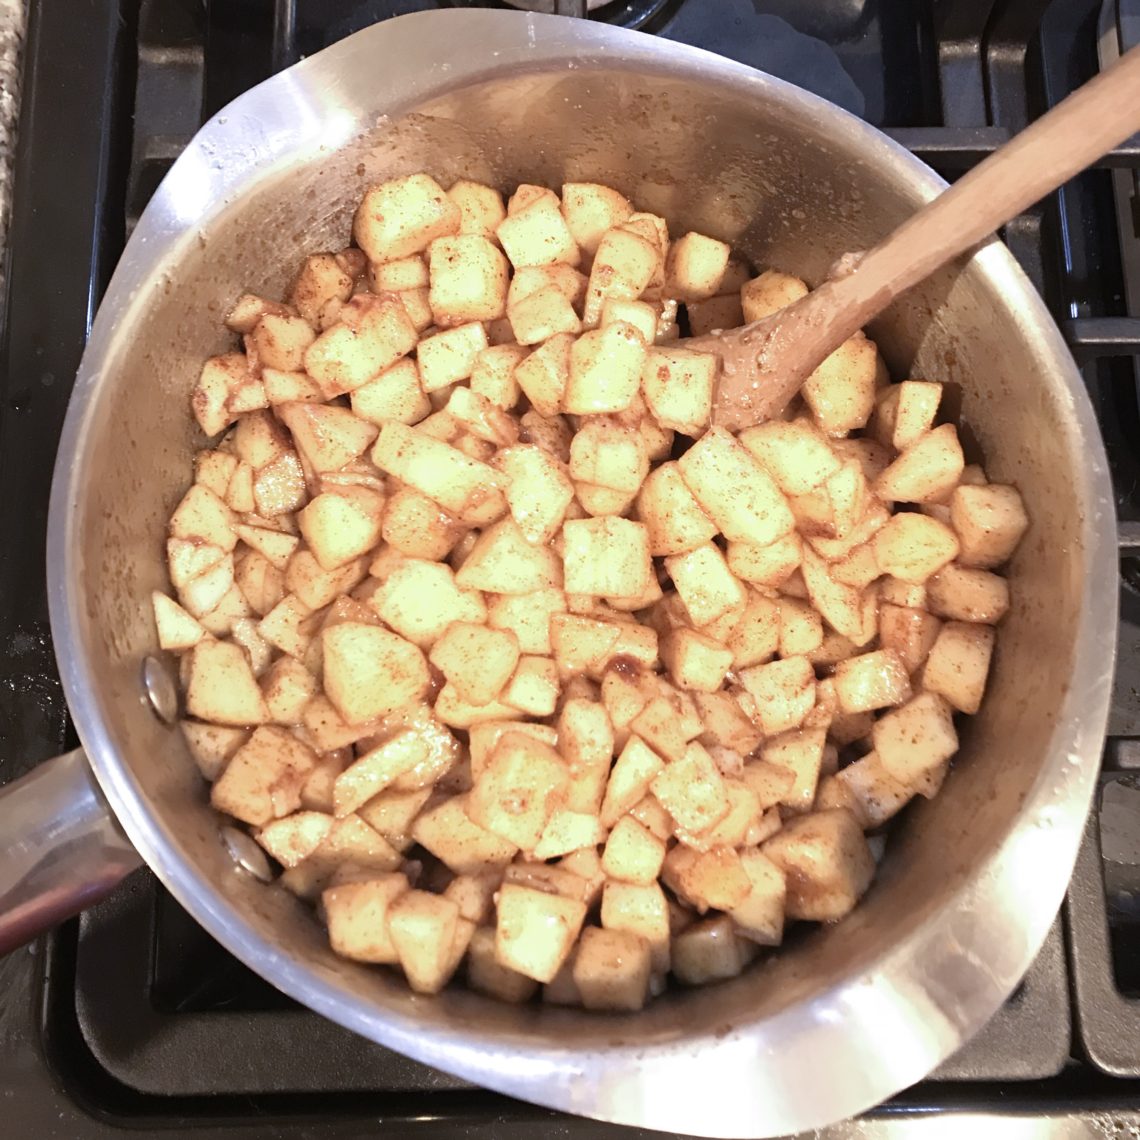
Step 1: Make the pie filling by heating a skillet over medium heat on the stove top. Add the ghee (or butter). Once the ghee is melted, add the remaining ingredients and stir to combine. Cook until the apples are soft, but not mushy, about 5-7 minutes. Remove from the heat and allow to cool to room temperature.
Step 2: Make the dough by pre-heating the oven to 350 degrees. Add the maple syrup, ghee (or butter), water, vanilla and salt to a medium sauce pan. Bring to a boil on the stove top, then remove from the heat. Add the arrowroot flour, coconut flour and mashed banana. Mix until it forms into a dough. Option to refrigerate for 20-30 minutes to make it easier to work with the dough (reduces the stickiness).
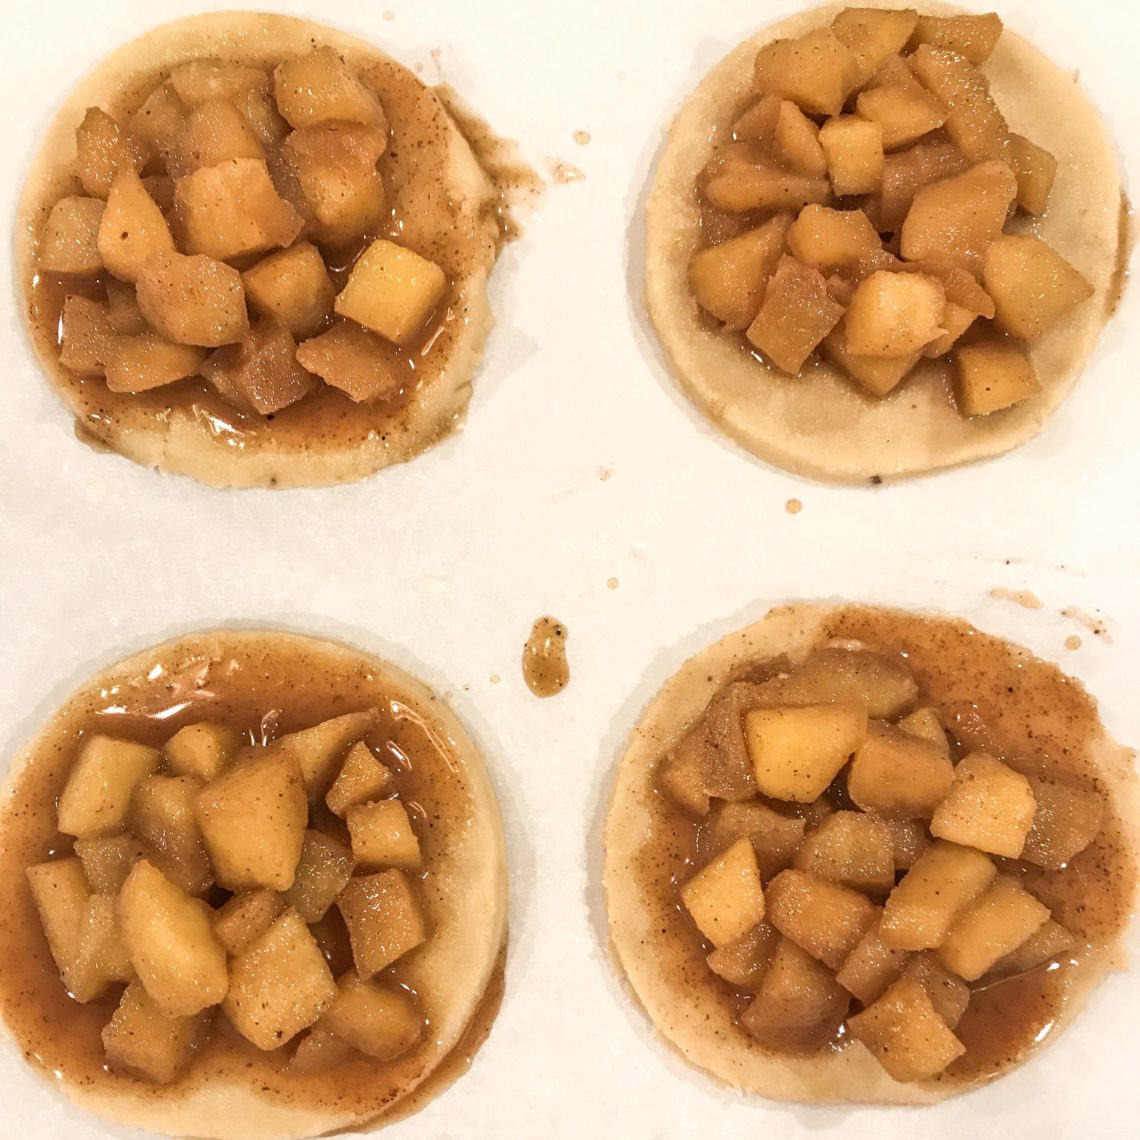
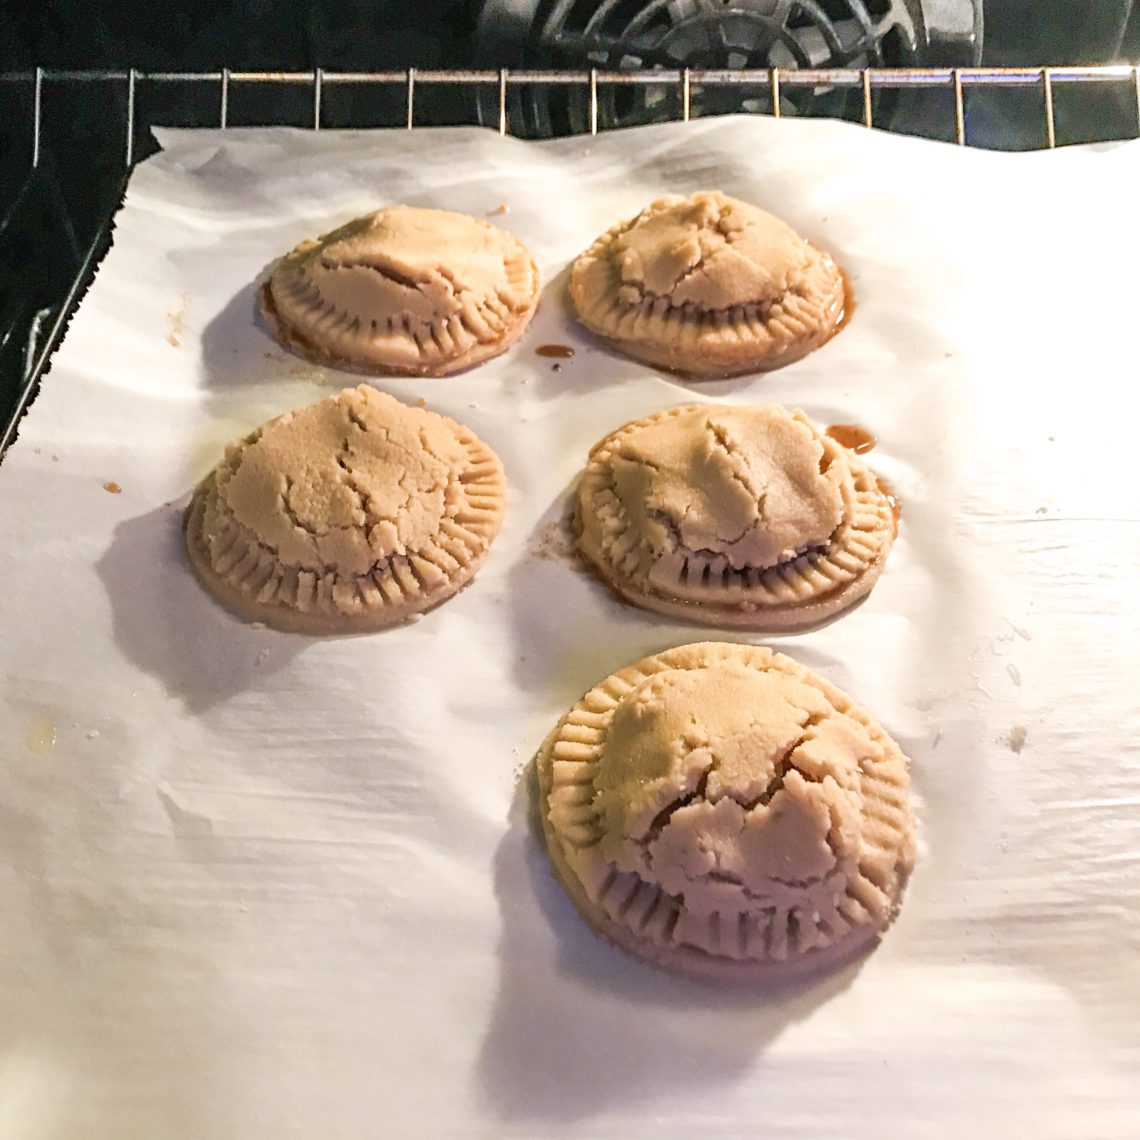
Step 3: Roll the dough on a piece of parchment paper to a thickness of 1/8-1/4 inch. Using a mason jar, cup or biscuit cutter, cut 10-12 circles out of the dough. Transfer the parchment paper to a sheet pan. Place 2-3 T of the apple mixture on half of the dough circles. The remaining dough circles will serve as the tops of your pie. With a spatula, lift and gently place each of the remaining dough circles on top of the prepared circles to create an individual pie. Cinch the edges together using a fork to form an impression around the perimeter of each circle. Don’t worry if the tops of the crust crack since this will help with ventilation.
Step 4: Place the sheet pan in the oven and bake for 25-30 minutes, or until the tops of the pies are golden brown. Allow to cool and enjoy!


23 Comments
Pingback:
Pingback:
Pingback:
Pingback:
Pingback:
Pingback:
Pingback:
Pingback:
Pingback:
Pingback:
Pingback:
Pingback:
Pingback:
Pingback:
Pingback:
Pingback:
Pingback:
Pingback:
Pingback:
Pingback:
Pingback:
368betlive
Alright, lads! 368betlive’s got some pretty decent odds, I’ll give ’em that. Easy to navigate, too, which is a bonus when you just wanna get a cheeky bet on. Give 368betlive a go, you might just get lucky!
houseofluck
houseofluck https://www.thehouseofluck.org