(Clean) Sweets Spree

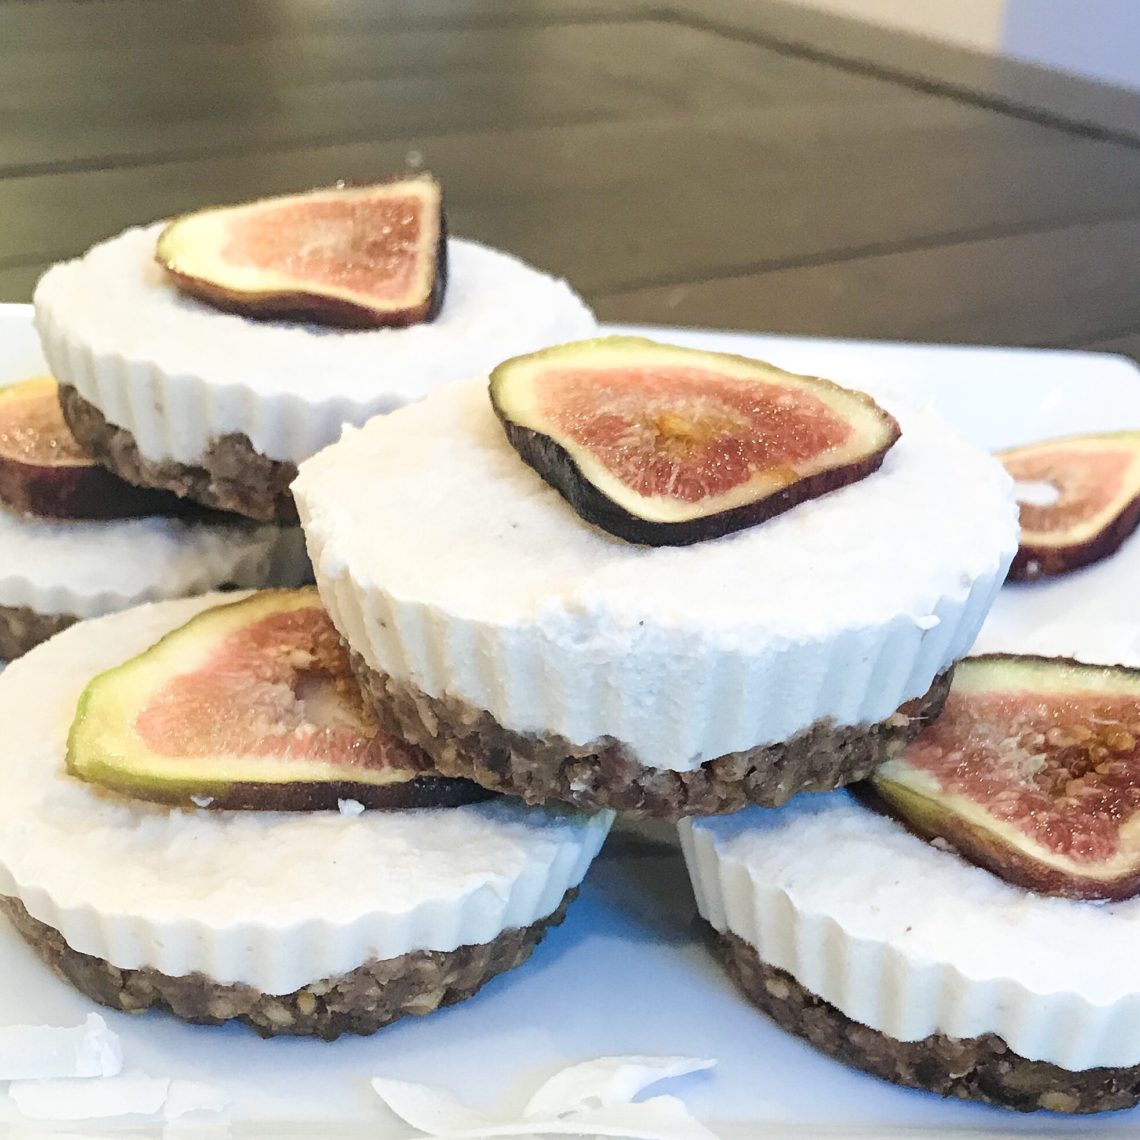
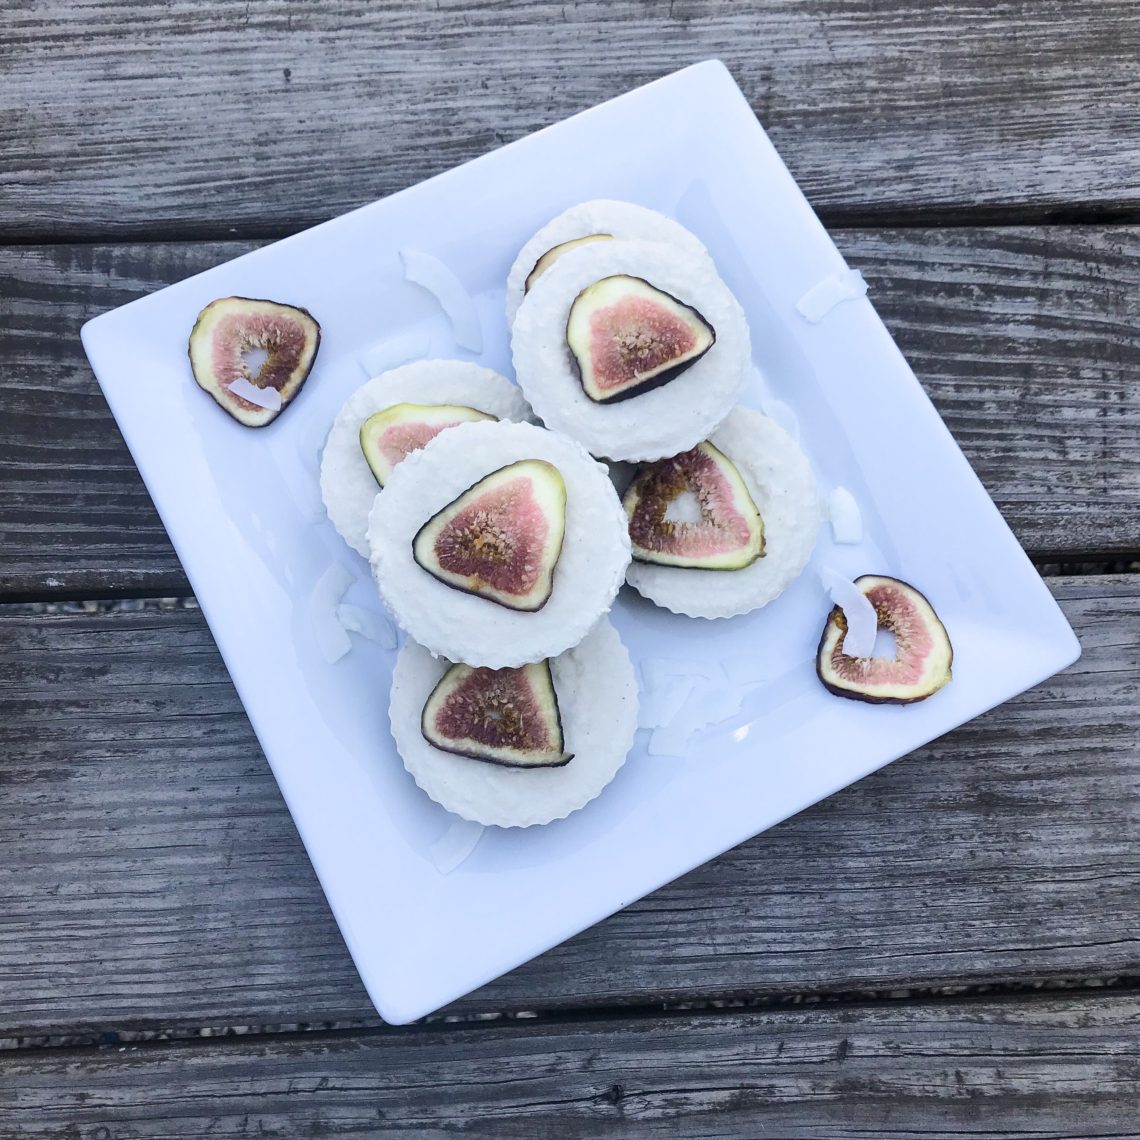
On a (clean) sweets kick lately and I do. not. mind. These creamy coconut cashew vegan cheesecake cups may look putzy, but I’m definitely not into putzy. The secret: silicone muffin cups. No mess and dishwasher safe – these beauties slide right out of their silicone bed. If only I slid out of bed looking this purdy. Find out more about the wonders of silicone and get the dEATs for these coconut vanilla “cheesecake” cups with gluten-free crust below.
Where did all my baking prowess come from? I got it from my momma. A couple of weeks ago, I was visiting home (Oshkosh, WI) and my mom insisted on sending me home with these silicone baking cups to try out. Like any good daughter, I said “sure” without high expectations. Let me tell you though, these are amazeballs (thank you Giuliana Ranci for inventing this phrase). They’re non-stick, eco-friendly, BPA free and microwave, oven and freezer safe. Whoa. Plus, these are good for all sorts of things other than muffins. You can use them to bake eggs, portion snacks, or even use them to create a do-it-yourself bento box – check out these examples on Amazon. Once I tried them for these individual cheesecakes, I was sold hook, line and sinker.
Portion control is a big challenge when it comes to sweets – at least for me. That’s why I love making these individual “cheesecakes”. The base is a grain-less crust made of raw almonds, dates and pecans. The creamy “cheesecake” is derived from raw cashews (soaked overnight), coconut milk, desiccated coconut and a touch of vanilla as well as maple syrup. While this is a “cleaner” version of a traditional cheesecake, portion control is important since nuts and coconut are high in good-for-you polyunsaturated and monounsaturated fats. This also means that one cup is that much more satisfying. Half the time we just finish the portion that we’re served before our bodies have time to send signals that we’re full, so portioning forces us to stop, assess and more often than not, decide that the portion is just right.
If you haven’t ever tried a vegan cheesecake, you are in for a treat. While it might be hard to believe, cashews and coconut milk create the creamiest of textures. And this recipe can be made in 20 minutes or less. Granted, you do need to freeze it for 2 hours, but you can spend that time relaxing on the couch or getting ready for summer get-togethers. If you’re up for something a little more advanced, check out these double layer Vegan Blueberry Cheesecake Bars that I made a couple of weeks ago. Otherwise, this vanilla coconut version is a great starter if 1.) you’re a more novice baker or 2.) I haven’t completely convinced you that this is the most creamy, delectable treat you’ll make all summer!
Coconut Vanilla Cheesecake Cups
Serves: 8-12
Crust
1 1/2 C pitted medjool dates
1 C raw chopped almonds (or roasted if you prefer a softer bite)
1 C pecan pieces (toasted, if preferred)
1 tsp salt
Vanilla “Cheesecake” Layer
½ C cashews (soaked in water overnight)
½ C coconut milk, from a can placed in the fridge overnight
½ C desiccated coconut
2 T maple syrup
½ tsp vanilla extract
Toppings (optional)
Fresh figs, slicedDirections:
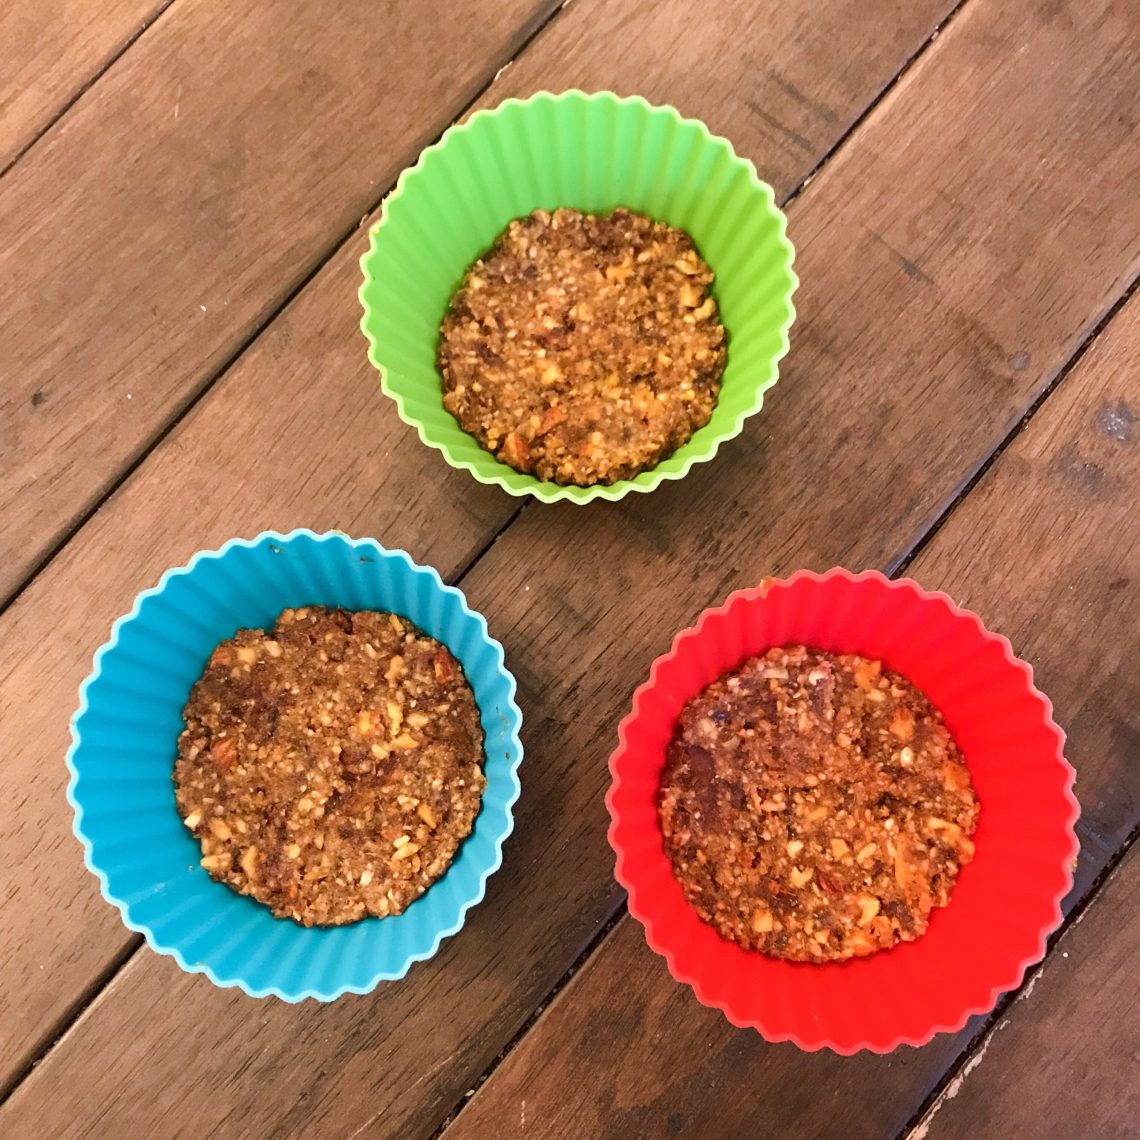
Step 1: Make the crust by adding the almonds, pecans and medjool dates to a food processor. Pulse until it clumps together easily in a crust-like consistency. Press the crust mixture into individual silicone muffin cups, creating a layer that is 1/4″ thick.
Step 2: Prepare the vanilla “cheesecake” layer by adding the soaked cashews (drained of water) to the food processor. Pulse until it forms a creamy paste. Take the can of coconut milk from the fridge and scoop off the cream, adding it to the food processor (the cream and water should have separated overnight). Discard or reserve the coconut water for another recipe (such as a smoothie). While the processor is still running, add the maple syrup, desiccated coconut and vanilla extra. Continue to pulse until a creamy base forms.
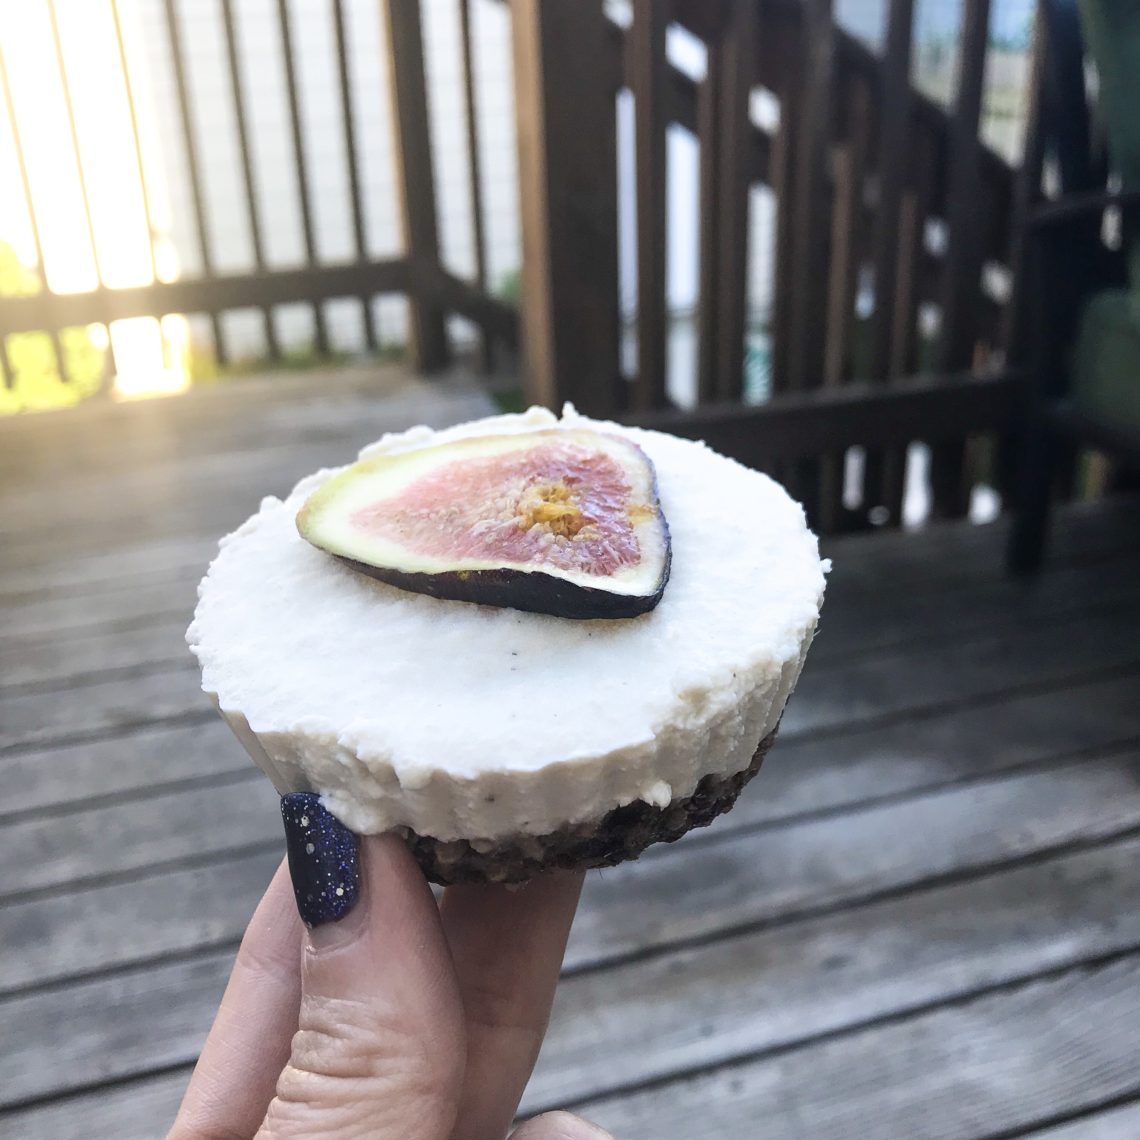
Step 3: Pour the “cheesecake” mixture into the individual cups, forming a layer that is roughly 2″ thick. Place the individual cups in the freezer to set for 2 hours. Once set, top with optional fruit for decoration. Allow to thaw roughly 20 minutes before serving.


22 Comments
Pingback:
Pingback:
Pingback:
Pingback:
Pingback:
Pingback:
Pingback:
Pingback:
Pingback:
Pingback:
Pingback:
Pingback:
Pingback:
Pingback:
Pingback:
Pingback:
Pingback:
Pingback:
Pingback:
Pingback:
Pingback:
188jl
Been hearing buzz about 188jl. What’s the honest opinion? Good odds? Easy payouts? Don’t hold back!